
How to Install the HomeStrong Fitness System
Estimated 60 minutes installation time
How to Install HomeStrong’s Complete & Compact Home Gym Equipment
Download Instructions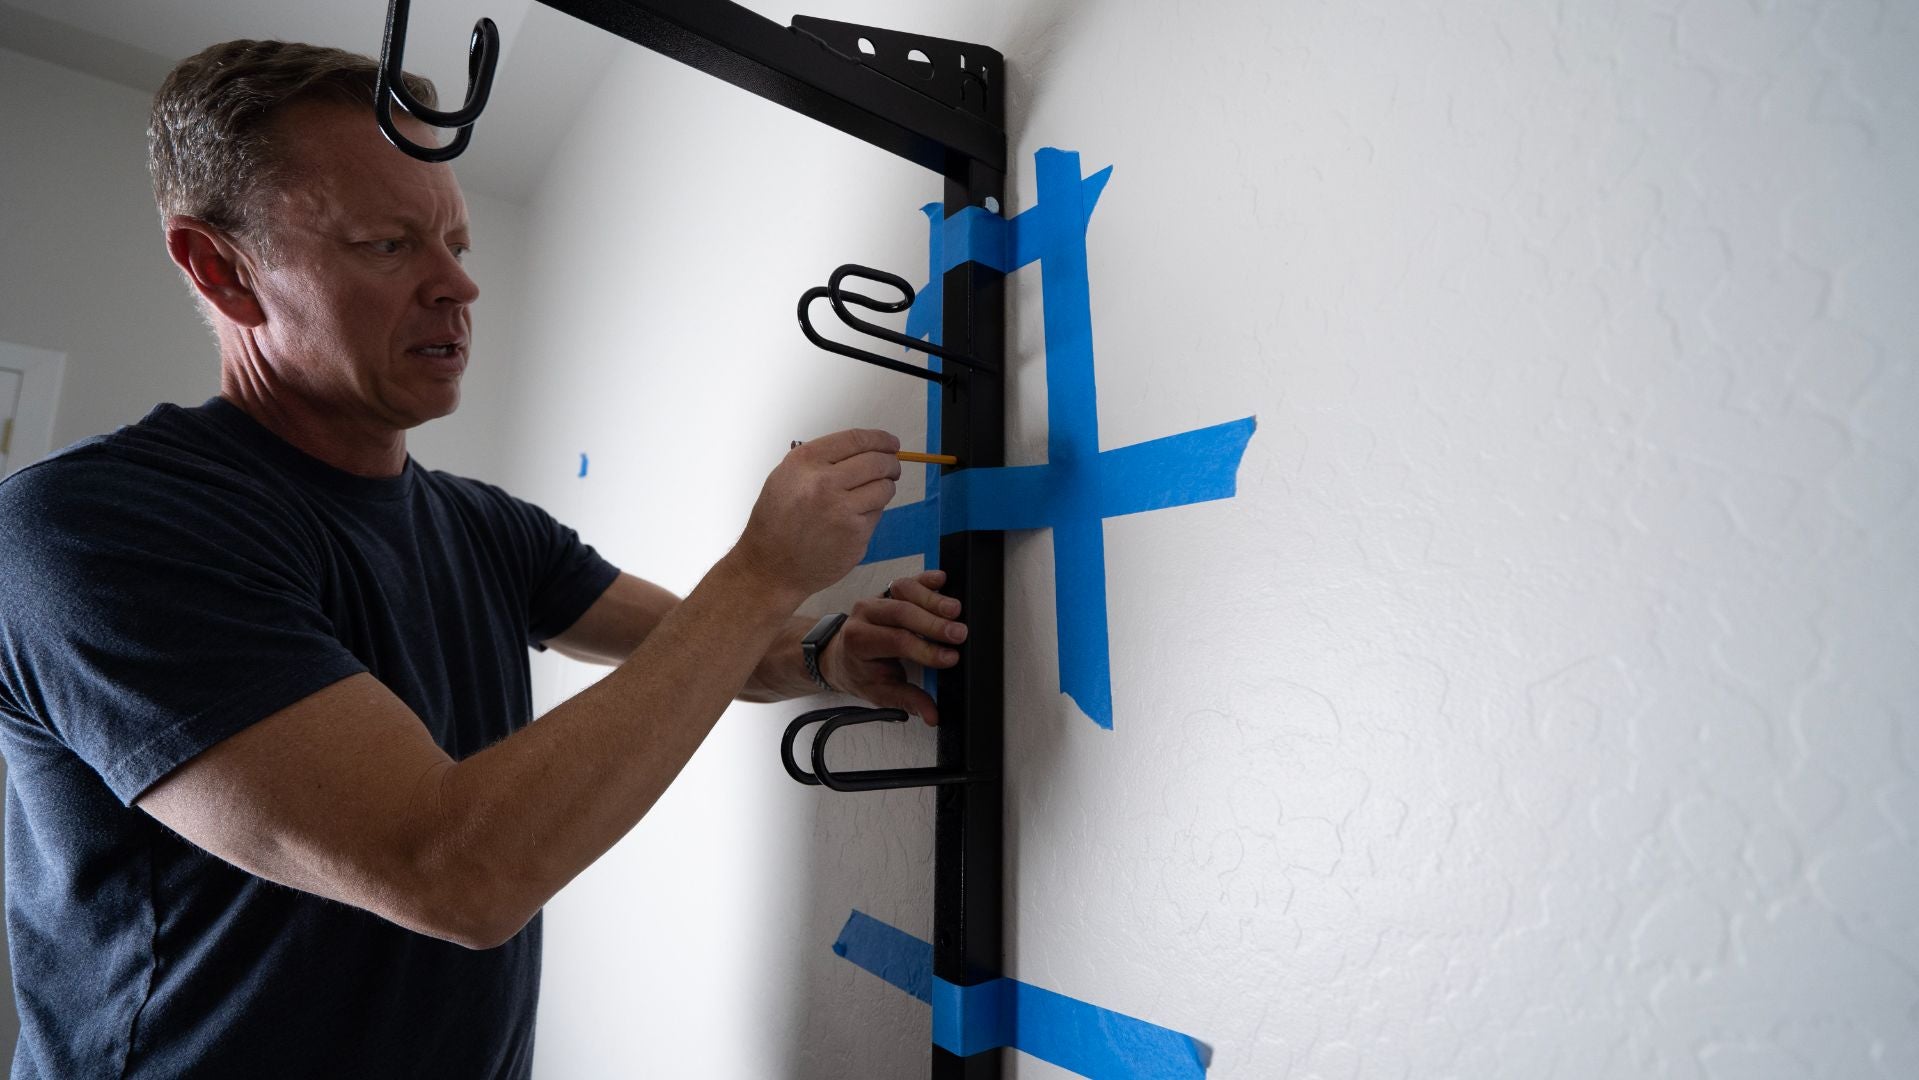
Tools Needed (Not included)
- Stud Finder
- Power Drill
- Level, Carpenters Square, or Long Straight Edge
- Painters Tape (2”)
- Pencil or Pen
- Plumb Bob (or pushpin, string, and weight)
- ¼” Drill Bit
- 3/8” Ratchet Wrench
- 3/8” Extension (3”” or 4”)
- 9/16” Socket
- 9/16” Box-end Wrench or Crescent Wrench
- Saw/Cutting Tool for Baseboard (optional)
Installation Materials (Included)
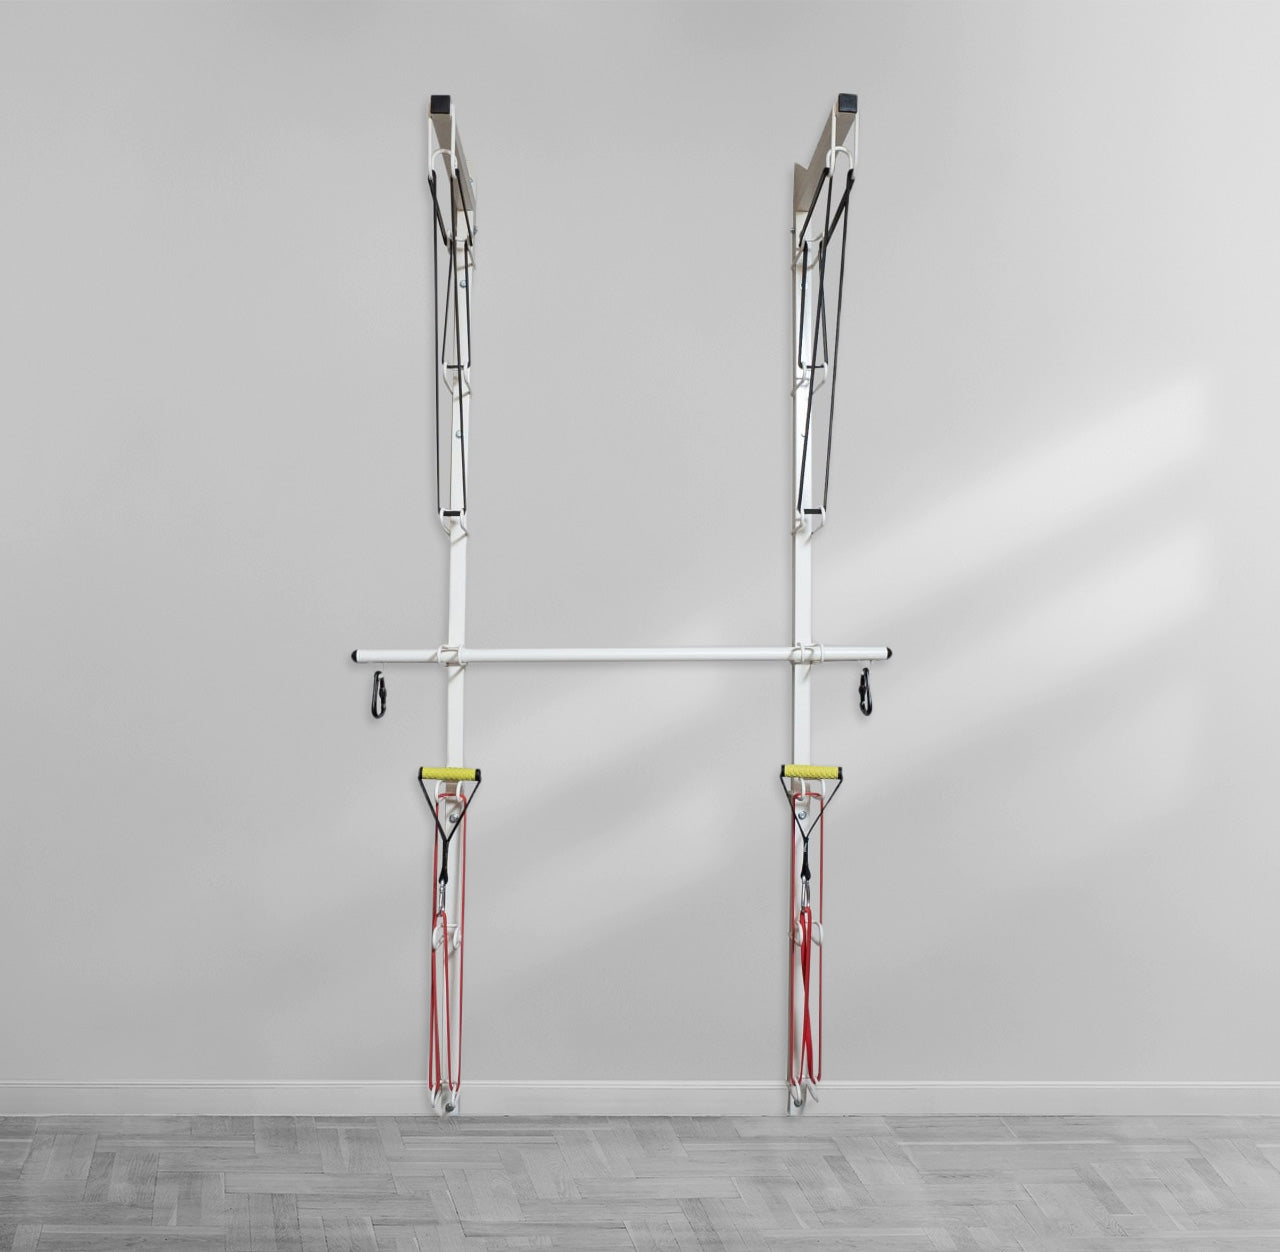
Rack System
A (2) 90” vertical loop-hook support members
B (2) Horizontal loop-hook support arm
C (1) Resistance Bar
Plastic Inserts
D (4) Square plastic tube end insert
E (2) Round plastic tube end insert
Screws
F (8) 3/8” by 3 ½” Hex Head Lag Screw
G (2) 3/8” by 2” Hex Head Lag Screw
H (2) 3/8”-16 x 2” Hex Head Cap Screw
Nuts/Washers
I (2) 3/8” -16 Nylon Insert Lock Nut
J (12) 3/8” Flat Washer
K (10) 3/8” External Tooth Lock Washer